After you’ve ridden a snowboard for a while, you may find that it feels a little sluggish and slow, especially when the snow is slushy. This is because the constant friction and the punishment you put your board through takes its toll on the base.
You can resurface a snowboard at home without too much effort. You need to clean the base and repair any damage before sanding it to remove imperfections. Then applying a good layer of wax will make the base super slippery, making it feel like a new board and allowing you to get over flat sections.
I have been snowboarding for many years and have owned countless snowboards. Sometimes, at the end of a particularly epic winter, I like to refresh my snowboard’s base, especially if I’ve noticed a reduction in performance. I usually take my snowboard to a shop for this, but I will resurface it myself if I’ve been disorganized and left it too late and the shops are closed.
Why You May Need To Resurface Your Snowboard Base
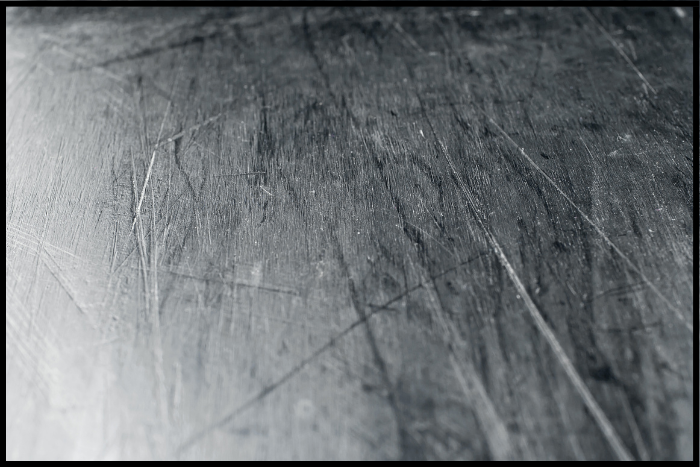
Let’s kick off by discussing why you may need to resurface your snowboard. Over time, your board can develop scratches, dings, and other wear and tear that can slow it down.
These can come from rocks, lack of regular waxing, and riding over boxes and rails. But the primary reason is that the base of your board is always in contact with the snow.
Consequently, it can significantly affect your speed and overall performance if the base is not in good condition.
A slow base can be frustrating when you get to flat sections or if the snow is slushy and sticky, as you may have to scoot with one foot more than usual.
Additionally, a damaged base can be a safety hazard, as it can reduce the amount of control you have, which is not pleasant, especially in tricky situations.
What Do You Need To Resurface Your Snowboard?
Before you settle in to resurface your snowboard, you’ll need a few supplies and tools. I’m also including the Amazon links to these products for your convenience.
- A flat, sturdy work surface
- A base cleaner
- A base repair kit
- A P-Tex candle
- A metal scraper
- A plastic scraper
- A fine-grit sandpaper
- A waxing iron
- Snowboard wax
- A couple of beers to sip while you work
Once you have all your supplies, it’s time to get to work. You can buy most of this stuff from a decent snowboard or ski shop.
However, you will have more to choose from by buying online. I have an old iron and a small snowboard servicing kit, including most of these items.
The Steps For Resurfacing Your Snowboard At Home
Before you start, it’s best to choose an appropriate place to work on your snowboard. It’s going to get a bit messy, so you may want to do it outside or in a garage if it’s chilly.
Let’s go over the steps to resurface your snowboard at home, so you can shred the mountains with speed and ease on a board that feels like new.
Step 1: Clean the Base
The first step is to clean the base of your snowboard. Use a base cleaner to remove any dirt, grime, or old wax on the base.
You can buy all sorts of base cleaning solutions, from eco-friendly citrus-based ones to heavy-duty ones in aerosol cans.
Apply the base cleaner as per the instructions and wipe it off with a paper towel. Make sure the base is completely dry before moving on to the next step.
Step 2: Inspect the Base
Inspect the base of your snowboard for any significant damage. If you have deep gouges or cracks, it may be best to take your board to a snowboard or ski technician.
This is especially true if there is damage around the edges, as this can leave your snowboard vulnerable to delamination if water gets into its construction.
However, if you have minor scratches and dings, you can easily repair them at home with the right equipment.
P.S.: If your snowboard gets delaminated, I have a step-by-step guide on fixing snowboard delamination.
Step 3: Repair Any Damage
If you have any minor scratches or dings, use a snowboard servicing kit to fill them in. This is where your P-Tex candle comes in, as melting it fills in any deep scratches or gouges in the base.
To do this, light the P-Tex candle and let it drip into the damaged area until it is filled. Then, use your metal scraper to scrape off any excess P-Tex, before using a plastic scraper to smooth out the repair.
Hopefully, you’ll be able to make your base scratch-free and run super fast once again.
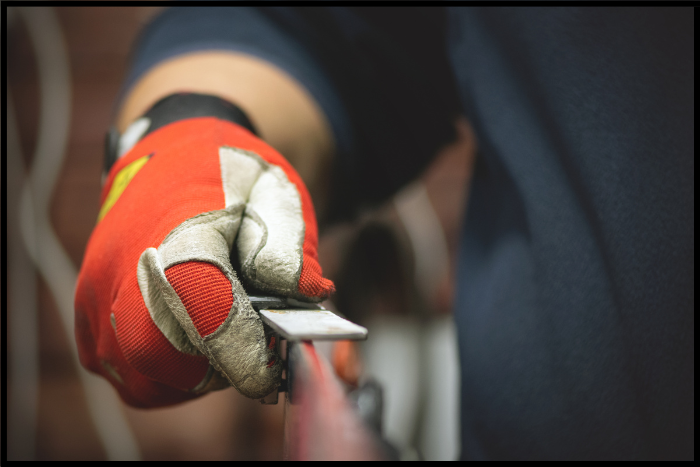
Step 4: Sand the Base
This is where it gets a bit more involved. You should only sand your base when it is in a particularly bad state.
Don’t do this too often, as it takes material away from the base and will leave the edges protruding below the base, negatively affecting its performance.
This is the same story if a shop grinds the base every time they service your board. When it comes to sanding your base, use fine-grit sandpaper.
Don’t be tempted to use coarse sandpaper to speed up the job, as you can do irreparable damage. Sand from front to back, as this is the direction that your snowboard travels.
It’s also important not to sand too much in one area. Your goal is to create a smooth and even surface along the whole length of the base, removing any flaws.
Step 5: Wax the Base
There are lots of different types of snowboard wax. But it would be best if you chose a wax that suits your riding conditions. By this, I mean the temperature.
For example, suppose you are riding at high altitudes early in the season. In that case, you’ll be better off with low-temperature wax.
On the other hand, you’ll need wax suitable for milder temperatures during spring. Alternatively, a universal wax works pretty well but doesn’t excel in any condition.
Using a waxing iron, apply a thin layer of snowboard wax to the base of your board. Then use the waxing iron to melt the wax and spread it evenly across the base, just like ironing a shirt.
Once the wax is evenly distributed, let it cool and harden. You can leave it for an hour or so or come back to it the following day; it’s up to you.
As a side note, a snowboard should be waxed after every 8 hours of riding. Of course, nobody actually does this, but regularly waxing the base will increase its ability to retain wax.
This means it will take longer to dry out and glide faster.
Step 6: Scrape and Brush the Base
If you are packing your snowboard away for the summer, leave the wax on the base until you’re ready to ride again. This stops the base from drying out.
However, you’ll need to scrape it if you are still riding.
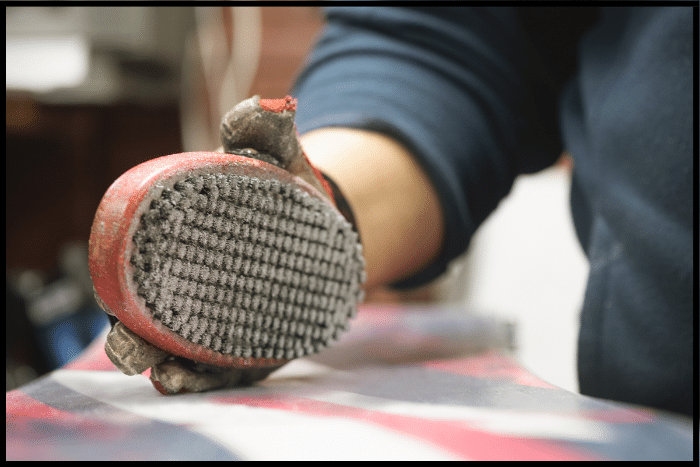
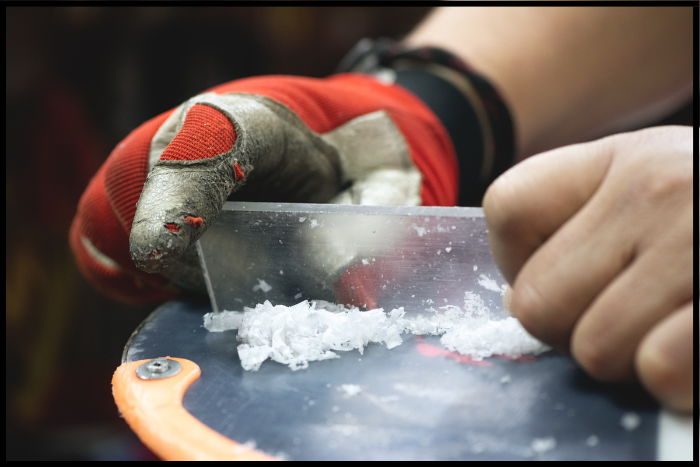
After the wax has cooled and hardened, use a metal scraper to remove any excess wax from the base. Be sure to scrape in the direction of the base.
Once you’ve removed all the excess wax, use a brush to buff the base and create a smooth finish.
Make sure you remove all the excess wax, or your snowboard won’t glide as well as it should, which defeats the purpose of resurfacing your snowboard.
Final Thoughts
Congratulations, you’ve successfully resurfaced your snowboard! With a little bit of effort and the right tools, you can have your board sliding down the mountains feeling like it’s brand new.
Remember to always take good care of your board and keep it in good condition.
A well-maintained snowboard works as the manufacturer intended; therefore, if you look after it, you can keep shredding at your best with confidence.