Snowboard delamination can be a real bummer, but don’t worry! With a little patience and the right tools, you can fix it yourself and get back on the slopes in no time.
To fix snowboard delamination, you’ll need to prepare a workspace and gather tools like epoxy, clamps, and sandpaper. Next, you’ll clean the delaminated surfaces, apply epoxy, press the layers together, clamp them down, and let it cure. Lastly, you’ll need to test your snowboard after the repair.
In this article, we’ll walk you through all the required steps to repair your snowboard’s delamination and help you avoid any future problems. Snowboards can be damaged in all sorts of ways, so first, you’ll need to make sure delamination is the issue at hand.
Understanding Snowboard Delamination Correctly
Snowboard delamination is when the layers of your board start peeling apart, making it weaker.
This usually happens if your board gets too wet for too long or takes a big hit, which messes up the glue holding it together.
When the layers split, your board gets floppy and doesn’t ride as well. Not repairing a delamination can cause even more problems, like cracks and bending, due to water getting inside the board.
Understanding snowboard delamination correctly is important to apply the right fix. Not any snowboard damage can be called delamination.
You don’t get an eye surgery done for a hair fall problem, right?
How Do You Fix A Delaminated Snowboard?
If you have delaminated your board and are looking to repair it, these are the steps you’ll need to take.
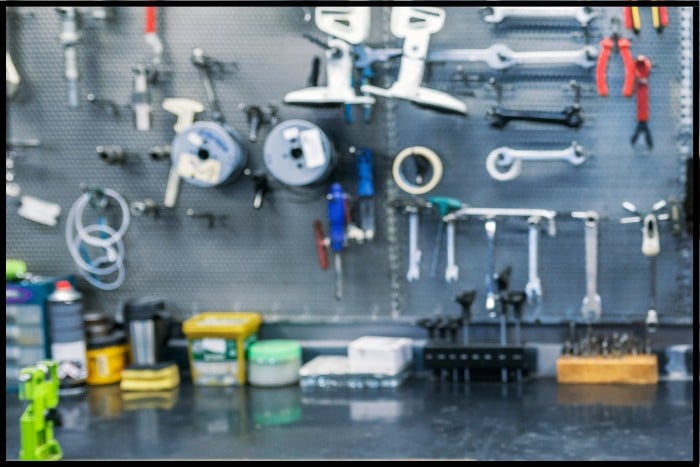
Step 1: Prepare Your Workspace
Before you start repairing your snowboard, you’ll want to prepare a clean, well-lit workspace with plenty of room to maneuver.
Lay out a large towel or blanket to protect your board and work surface from scratches or damage. Make sure the area is well-ventilated, as you’ll be working with strong adhesives that can produce fumes.
Step 2: Gather Your Repair Materials
To fix snowboard delamination, you’ll need a few essential tools and supplies. I’m also including the Amazon links to some of the best options for your convenience. Here’s what you’ll need:
Epoxy
A strong, waterproof adhesive that will bond the delaminated layers back together. Look for a flexible, slow-curing epoxy designed for use with snowboards or other sports equipment.
Disposable gloves
To protect your hands while working with epoxy.
Popsicle sticks or plastic scrapers
For spreading the epoxy evenly between the delaminated layers.
Clamps or heavy objects
To apply even pressure while the epoxy cures, ensuring a strong bond.
Acetone or rubbing alcohol
To clean the surfaces before applying epoxy and remove any excess adhesive.
Clean rags or paper towels
For wiping away excess epoxy and cleaning the work area.
Sandpaper (around 120-grit)
To roughen the surfaces of the delaminated layers for better adhesion.
Heat gun or hair dryer
To warm the area and help the epoxy cure faster.
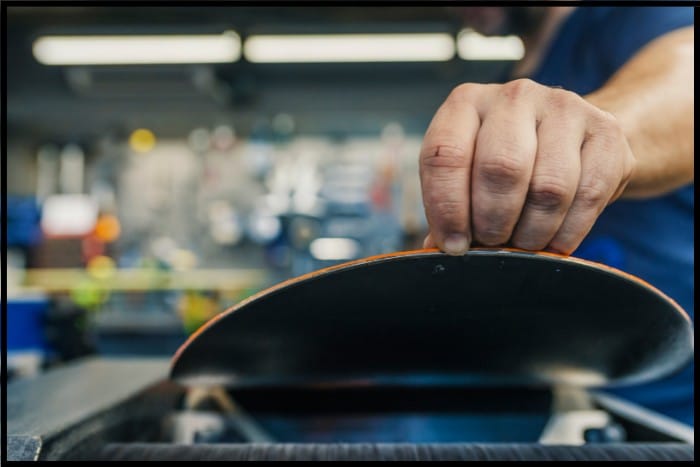
Step 3: Identify the Delaminated Area and Clean the Surfaces
Start by locating the delaminated area on your snowboard. You may be able to see or feel the separation between the layers.
Once you’ve identified the problem area, use a clean rag or paper towel and some acetone or rubbing alcohol to clean the surfaces.
This will remove any dirt, oil, or wax that could interfere with the epoxy bond. Be sure to allow the surfaces to dry completely before moving on to the next step.
Step 4: Roughen the Surfaces
Use your sandpaper to lightly roughen the surfaces of the delaminated layers. This will help create a stronger bond between the layers when you apply the epoxy.
Be sure to remove any dust or debris created by sanding before moving on.
Step 5: Mix and Apply the Epoxy
Put on your disposable gloves and follow the manufacturer’s instructions to mix the epoxy.
Once mixed, use a popsicle stick or plastic scraper to carefully spread a thin, even layer of epoxy on both delaminated surfaces.
Be sure to cover the entire area, as gaps in the adhesive can lead to future delamination.
Step 6: Press the Layers Together
Carefully align the delaminated layers and press them together firmly. You may need to apply some pressure to ensure the epoxy spreads evenly and that any air bubbles are removed.
A rolling pin or similar object can help apply even pressure across the area.
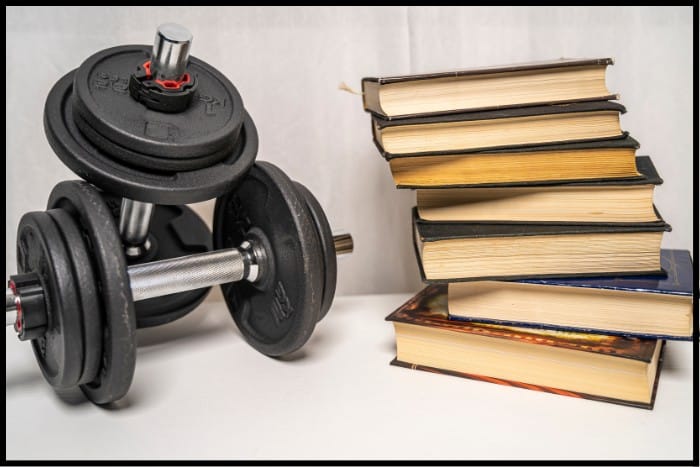
Step 7: Clamp or Weigh Down the Repair
To ensure a strong bond, you’ll need to apply pressure to the repair area while the epoxy cures. You can do this by using clamps or by placing heavy objects, like books or weights, on top of the board.
Be sure to distribute the weight evenly to prevent any warping or distortion.
If you’re using clamps, use a piece of wood or a folded towel between the clamp and the snowboard to prevent any damage to the board’s surface.
Step 8: Allow the Epoxy to Cure
Refer to the epoxy manufacturer’s instructions for the recommended curing time. Generally, this will be at least 24 hours, but it may take longer for a stronger bond.
It’s essential to allow the epoxy to cure fully before using your snowboard to ensure the repair holds up under pressure.
During the curing process, you can use a heat gun or hair dryer to gently warm the area, which can help speed up the process. Just be careful not to overheat the board, as this could cause additional damage.
Step 9: Inspect and Clean Up the Repair
Once the epoxy has fully cured, carefully remove the clamps or weights and inspect the repair. The delaminated layers should be securely bonded together with no visible gaps or bubbles.
If there is any excess epoxy around the edges of the repair, use a clean rag or paper towel with a small amount of acetone or rubbing alcohol to gently remove it.
Be careful not to damage the board’s surface or graphics.
Step 10: Test Your Snowboard
After your repair is complete and you’re satisfied with the results, it’s time to test your snowboard.
Take it out on the slopes and put it through its paces to ensure the repair holds up under normal riding conditions. Keep an eye on the delaminated area for any signs of further separation or other issues.
How To Avoid Snowboard Delamination?
Preventing snowboard delamination is essential to ensure the longevity and optimal performance of your board.
Proper maintenance and care can significantly reduce the risk of delamination, helping to keep your snowboard in top shape.
One key practice is to dry your snowboard thoroughly after each use, as moisture is a primary culprit in causing delamination.
Wipe down the entire board, paying special attention to the edges and bindings, where water can easily accumulate.
Store your snowboard in a cool, dry place away from direct sunlight or heat sources, which can cause the adhesive between the layers to weaken. Additionally, be cautious when transporting your board.
Use a snowboard bag or protective case to shield it from dings, scratches, or other impact damage that could lead to delamination.
Check out my recommendations for the best snowboard bags in case you don’t own one!
Regularly inspect your board for any signs of wear, such as cracks or edge damage, and address these issues promptly to prevent them from worsening.
When it comes to maintenance, use high-quality wax and follow the manufacturer’s guidelines for the frequency of waxing and edge sharpening.
This will not only maintain the board’s performance but also help to preserve the integrity of its layers.
Lastly, avoid excessive flexing or bending your snowboard, as this can strain the adhesive and eventually lead to delamination.
By following these practices, you’ll be able to enjoy your snowboard for many seasons to come.
Conclusion
Fixing snowboard delamination can be a relatively straightforward DIY project if you have the right tools and follow the proper steps.
By repairing your board, you can extend its lifespan and enjoy many more days on the mountain.
Remember to always properly maintain and store your snowboard to prevent future delamination or other damage. Happy shredding!