We’ve all had it; the sound of a rock scraping the base of your snowboard is a disturbing sound. And you only know the true extent of the damage once you unstrap at the bottom of the hill. But what do you do if you find a large chip or scratch in the base of your snowboard?
Some chips in the base of your snowboard can be repaired at home. You can melt some P-Tex into the hole and scrape off the excess before waxing your board. However, sometimes damage can be too extensive to ensure you do a proper job. Therefore, take it to a snowboard shop for professional repair.
In this article, I will talk you through how to fix snowboard chips. You will learn how to restore the base of your snowboard to its former glory, ensuring it doesn’t get damaged further and keeps running as it should.
Why Do You Need To Repair Damage To The Base Of Your Snowboard?
There are a few reasons why you need to fix chips in the base of your snowboard. Firstly, a base free of chips and scratches performs at its best.
If you don’t fix chips in the base of your snowboard, it will slow you down because it won’t glide as well. In addition, you may find it harder to turn, and your overall control of the mountain will be compromised.
Secondly, damage to your snowboard base can reduce its lifespan.
Over time damage can get worse and even lead to more significant problems that may cost more to fix or cause you to replace your snowboard.
For example, you may have a core shot, which is when the chip is so deep it goes down to the core of your snowboard, exposing the wood.
This damage can cause your snowboard to delaminate when water enters the construction.
When a snowboard delaminates, it is time to replace the board. But with regular maintenance, you can avoid or postpone it from happening.
Still, I’ve written a handy guide for you on fixing snowboard delamination in case your snowboard can still be salvaged.
What You Need To Fix Your Snowboard Base?
I’m including Amazon links to the things you’ll need for your convenience. To fix a snowboard base, you’ll need the following tools and materials:
- Wax remover or rubbing alcohol: To clean the area around the damaged base. You can buy this in a bottle or an aerosol can.
- P-Tex candles
- A lighter or candle: To light and melt your P-Tex candle.
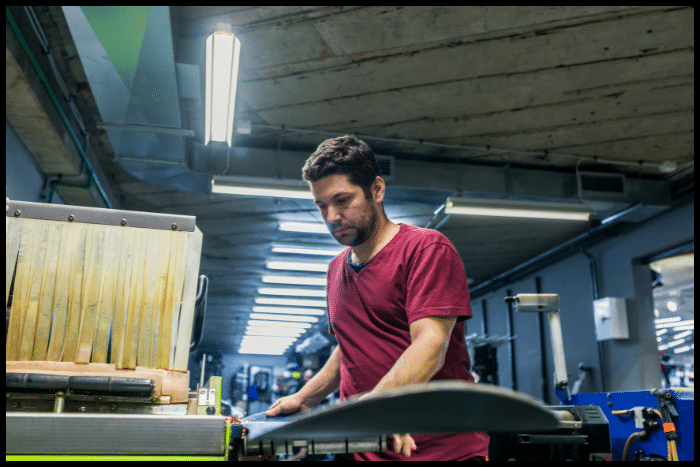
- A file or sandpaper: To smooth out the P-Tex on your board, sharpen the edges and remove any burrs.
- A scraper: To remove excess P-Tex from the repair.
- A waxing iron and snowboard wax: To finish the repair.
How To Fix Chips On The Base Of Your Snowboard?
To fix chips to the base of your board, follow these simple instructions, and you’ll be riding in no time.
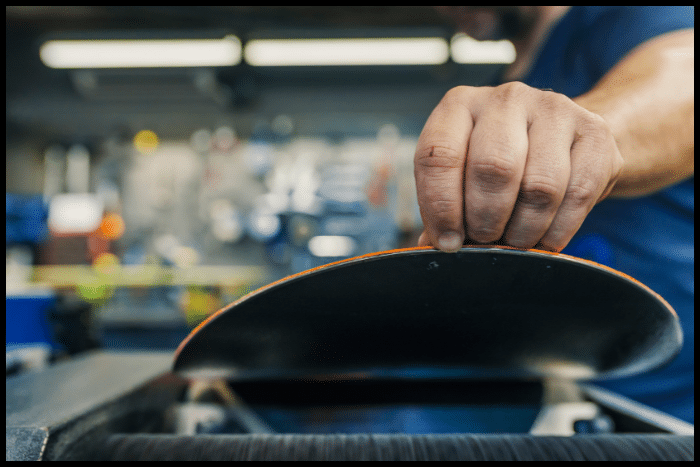
1. Determine The Extent Of The Damage
Your first step is to assess the extent of the damage to your base. You also need to determine the nature of the damage and where it is.
If the chip isn’t too large, you can fix it yourself, even if it is a core shot. However, if the chip is particularly large, it may require a specialist to fix it professionally.
This is also the case if the damage is on the edge of the board or a curved section of the base, as a simple home repair may not be good enough for these tricky areas.
If you are unsure if you can fix this yourself, take it to a snowboard shop for professional repair and service to be safe.
2. Clean The Area Around The Damage
If you decide to fix the damage yourself, you need to first clean around the chip. To do this, you will need a wax remover and a cloth.
Simply apply the wax remover to the base and clean around it as best you can with the cloth and allow it to dry.
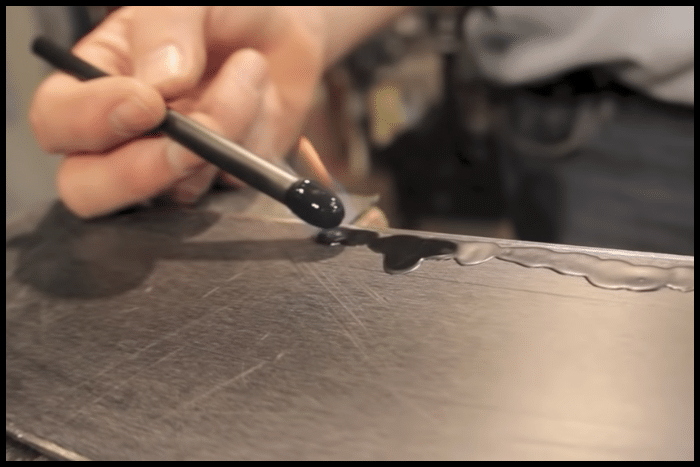
3. Melt Some P-Tex
P-Tex is the material your base is made out of. You can buy P-Tex candles for repairing snowboard bases at home.
Try to buy P-Tex in a color that matches your base; alternatively, transparent P-Tex looks better than some random color ruining your base graphics.
To apply P-Tex to your base, set fire to the end with a candle or lighter. (You’ll find it much easier with a constant flame, such as a candle.) Hold the flame on the P-Tex until the flame turns blue and sets alight.
Molten P-Tex is extremely hot, so be careful and try not to get any on your skin because it will be incredibly painful. Ensure you have a piece of wood or metal scraper to catch the initial drips.
Once the P-Tex is constantly burning, hold the burning end over the damage so it drips into the damaged area. Try to keep the flame low to the board to reduce carbon getting into the mix.
Repeat the process until you are satisfied that P-Tex has filled the hole. The deeper the hole, the more layers of P-Tex you will need.
Once you have filled the damage, stub out the flame on your haze of wood or metal scraper.
4. Allow The P-Tex To Cool
Wait a few minutes for the melted P-Tex to cool and set into the hole in your snowboard. This shouldn’t take too long, but you can leave it overnight if you want to or need to.
5. Remove The Excess P-Tex
Next, you must remove the excess P-Tex sitting proudly on the base. First, use a knife to remove the excess P-Tex around the edges of the damage.
Then use a file to flatten the new P-Tex until it is flush with your base. Remember to take your time with this so you don’t damage the base or rip out the new P-Tex you just dropped into the hole.
Keep the file as flat as possible and work in a diagonal motion. Next, use a plastic scraper to scrape away any excess P-Tex.
Scrape across the damage in a diagonal direction, working in sections until all the excess P-Tex has come off the board and the repair is completely flush with your base.
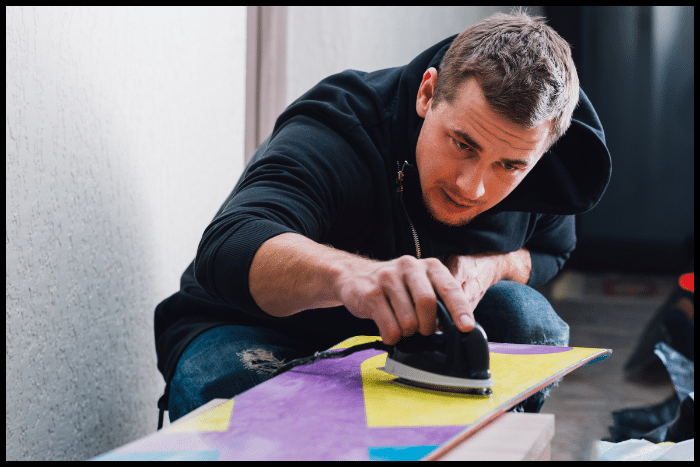
6. Wax Your Snowboard And Sharpen Your Edges
Now you have a base looking as close to new as possible. So now it’s time to wax your snowboard ready for shredding again.
You will need a waxing iron and some suitable snowboard wax for this, and you will also need a scraper to remove the excess wax once you have finished.
You may also need to sharpen your edges to ensure you have plenty of grip while carving. For this, you will need a snowboard edge sharpening tool or a file to remove any burrs you may have on the edges.
Final Thoughts
As you can see, repairing chips on a snowboard base is relatively easy as long as you have the necessary tools and somewhere to do it. It can be pretty satisfying to fix your snowboard yourself.
However, if you are short on time or don’t feel confident, take it to a professional who will do a full service, ensuring your snowboard runs as it should.
Keeping your snowboard base in good condition will allow you to have lots of fun for many seasons to come.