Just got your brand new bindings, and are you trying to figure out which binding is the left and right? How can you find the correct bindings before attaching them to the snowboard?
You can find the left and right bindings by these methods: check the shape of the baseplate; the arc at the base gives you clues. By the direction of the buckles when strapping in; the buckles usually face outwards. Finally, use the logo on the highback; the “R” and “L” logos are right and left.
Once you have figured these out, what other factors should you consider for riding as a beginner before attaching your bindings to the board? I have listed them for you.
How to Figure Out Which Is the Left and Right Binding?
Setting up your bindings can be daunting if you are beginning your journey as a snowboarder. It was the case for me when I started as a newbie.
But don’t worry, I have got you covered. There are several ways to find out which binding is left and right.
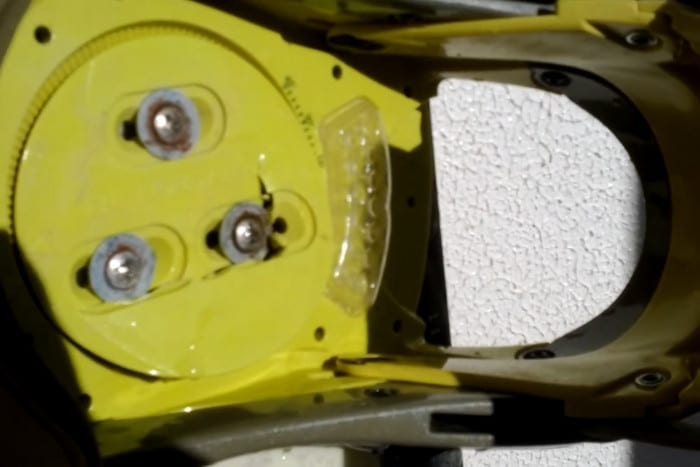
1. Check the Shape of The Base Plate
If you have trouble finding out which is the right or left binding, one of the easiest ways to do so is by checking the base of the bindings.
When you look closely, you’ll find that they are curved in a manner that gives you clues.
It may not be as apparent initially, but if you look closely, you can find the difference between the left and right bindings.
The base plates of the bindings match the shape of the foot they fit in with, like a shoe, where the right side is bigger to fit in the big toe for the right shoe.
So that’s the first method, but there are more.
2. Buckles to Your Rescue
Normally, the buckles of the bindings are on the outside of the foot when done up. To figure out the left and right bindings, simply check the direction of the buckles.
They should correspond with your footing. Front foot buckles should face forward, and back foot buckles will face backward.
This works most of the time, but not all bindings are the same. So I have one more method if you still can’t figure it out.
3. The Highback Has the Logo
Each binding has a highback that your calf muscles can comfortably rest against when riding.
If you inspect the backside of the highback, there is usually a logo that says “R” or “L,” as you might have guessed already; they are short forms of left and right!
Things to Consider Before Mounting Your Bindings
Alright, so you have figured out which are left and right bindings. Now, what is the proper way to adjust your binding so that you can shred hard on the slopes?
Always remember there is no right way to adjust your snowboard bindings. Each rider has different preferences, and there are many personalization options.
Before you mount and adjust your bindings to your board, a few things must be considered.
1. Figuring Out Your Stance
There are two riding stances: goofy and regular. In a goofy stance, your right foot goes forward.
Therefore, the right binding is placed towards the nose of the snowboard. And the left binding is towards the tail of the snowboard.
In a regular stance, your left foot is placed forward, and the right foot goes towards the back.
You might be wondering, “How do I figure out my stance?” You can figure out your preferred stance by kicking a soccer ball from your natural position.
Drop the soccer ball and kick it! Check what leg you used to kick the ball and what leg you used to balance yourself.
The leg that kicks the ball is your dominant foot. On the snowboard, the dominant foot goes forward.
This little experiment can easily determine whether you are goofy or regular.
2. Determining the Width Between the Bindings
The distance between your bindings determines how well you can control your snowboard over different terrain, which must be considered when mounting them.
The stance width for bindings largely comes to personal preference and depends on your riding style.
Freestyle riders love a wider stance width for stability when landing jumps, while pow riders prefer a narrow stance for weight control.
For beginners, a stance slightly wider than your shoulders is recommended, as the wider stance provides more stability, particularly on challenging slopes.
3. Where to Place the Bindings on the Board
Alright, you have measured your shoulder width and are ready to mount your bindings. Wait! There is one more thing that you should take into consideration.
What type of snowboard are you going to shred with?
The most common snowboard types, freestyle, freeride, and all-mountain, are designed for different riding styles.
Hence, when mounting bindings on a freestyle board, it is recommended to have an equal distance between the nose and tail.
All-mountain and the freeride bindings are often set back to at least one centimeter from the center to the tail, allowing for easy weight transition.
So keep these two factors before mounting your bindings.
4. How to Adjust the Bindings Angles
When you’re just starting, it’s a good idea to go with the most common setup for beginners, which is +15 degrees for the front binding and 0 degrees for the back binding.
The idea is that this will make your ride stable and turns easier as you will most probably be riding in a single direction as a newbie.
Another popular setup is the duck stance, in which the front foot is at a positive angle of +15 degrees, and the back foot is at a negative angle of -15 degrees.
The benefit of these angles is that you can comfortably ride in both directions regardless of goofy or regular stance. Experiment away.
Shred hard, have fun, then figure out what works best for you.
5. Finally, Screw Them in
To mount your bindings to your board, you will need a Phillips head screwdriver and the screws provided to you with your bindings.
To secure the bindings to the board, you will need to screw the screws into the pre-drilled holes on your board through the base plate of your bindings.
The base plates and the mounting interface on the snowboard should match each other.
Hence the reason why multiple holes are placed within the base plates. This makes them fit with almost every snowboard out there.
The exceptions are Burton EST compatible boards, which have their own mounting system. Here I cover the method for a non-EST board:
- Once ready, place the front binding in your preferred position and angle and match it with the center screw holes on the snowboard.
- Gently screw in one screw after another, but don’t tighten them fully.
- Check the position of the bindings for the final time before completely screwing them in, but don’t over-tighten them.
- Follow the same steps for the rear binding. You are set!
Final Thoughts
You can figure out the left and right bindings by checking the arc at the base of the bindings and the direction of the buckles when you strap in.
Also, logos on the highbacks show the shorthand symbols such as “R” and “L,” which correspond with right and left bindings.
Consider the listed additional factors such as stance, snowboard type, placement, and degrees when screwing the bindings. Happy shredding!