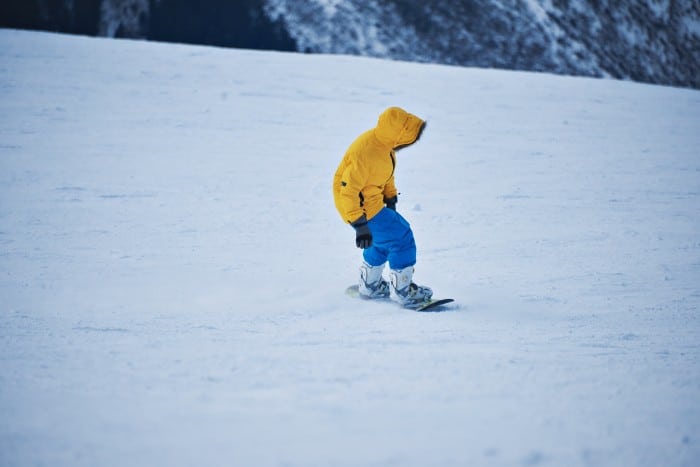
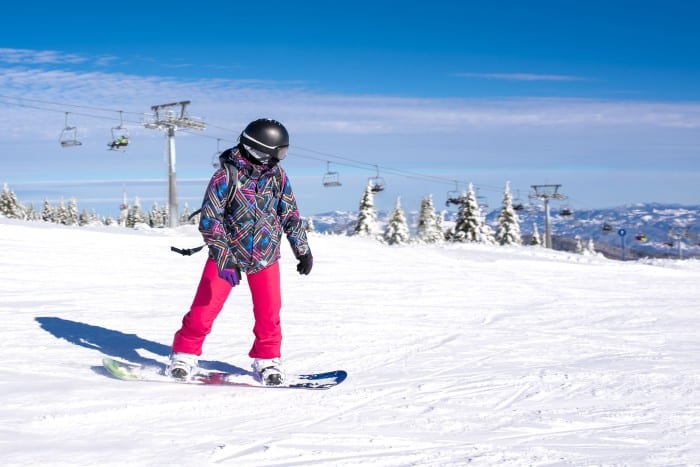
A common question snowboarders get is why they ride the way they do. When looking at a snowboarder making their way down the mountain, you may see them do so in a zig-zag motion, leaving many to wonder why they do this.
Snowboarders zig-zag down the mountain because it’s a way to regulate their speed as they’re shredding. This method is called linking turns, and it helps the rider connect their toe side turns to their heel side turns and is used as a method to maneuver the board and control speed.
Below, we cover in detail why snowboarders link their turns together when going down the mountain.
Linking Turns During Snowboarding
Snowboarders zig-zag because it’s one of the best ways to ride down the mountain for beginners and advanced snowboarders alike.
This method, known as linking turns, is when you seamlessly link together one turn after another, allowing you to progress down the mountain in a zig-zag pattern that appears fluid and simple to those looking from the outside.
However, this method isn’t necessarily easy, and many beginners have trouble with this as there’s a fair bit of effort and technique behind linking turns that must be kept in mind to do it in the best possible way.
1. The Reason for Having Zig-Zag Turns
Having zig-zagged turns is an effective way to control your speed going down the mountain.
Compare going straight down the mountain to turning in a zig-zagged motion.
If you go straight down the mountain, your speed will increase exponentially to a degree where you won’t even be able to control it effectively anymore.
This stands in contrast to a zig-zagged turn, where you wash off some speed by turning onto your toe and heel edges, so your control is easier to maintain.
This is an important feature to remember as if you don’t regulate your speed, you could risk injury to yourself and others.
Having unchecked speed means you’ll be barreling down the mountain at a rapid pace, where you cannot stop yourself from crashing into others or terrain such as a tree.
This puts both you and others on the mountain at risk. Linking turns is an effective way to prevent this from happening, as you can maintain control of your board.
Linking turns can also be an excellent way to look like you know what you’re doing when on the mountain.
It’s a common trait for people to want to look professional and cool as they shred down the hill, and as all the top snowboarding athletes link their turns, it can be a great way for you to look like you’re on par with them.
Coupling this with the safety aspect of linking turns, you can cross the rare threshold of both looking cool and maintaining safety while snowboarding.
This is for the low cost of just zig-zagging your turns instead of straight-shooting it.
2. The Physics Behind Linking Turns
When you’re zooming down a mountain at high speeds, you’ll notice you build up more and more momentum over time.
This refers to your acceleration, as it gradually accumulates with each progressive moment you spend riding.
This acceleration will increase more and more if left unchecked and will, at some point, require you to stop.
Stopping works by building friction with the ground beneath you by dragging the snowboard against it, which is done by digging the edges of your board into the snow.
When you turn your board, you lose some of the accelerative force by using the friction of the board against the ground to your benefit.
Repeatedly doing it has an additive effect on your acceleration, causing it to fall gradually over time.
This leads to you losing some speed when going down the mountain, causing you to go at a safer and much more manageable pace.
How To Turn Your Board? – A Prerequisite to Linking Turns
To link turns, you must first know how to turn a snowboard at both your heel and toe sides. To turn correctly, you need to learn the various stages of a turn.
1. Starting a Turn
You’ll want to start your turn by facing the direction you aim to be going in.
Keep yourself oriented towards this direction, making sure to have a proper posture on your board.
Then you’ll want to let your body follow naturally as you look in the direction you want to go, maintaining a good balance while doing so.
2. Controlling Your Turn
This is the stage where you’re going to be implementing your turn.
You’ll start with the board pointed downhill and then turn your head and shoulders in the direction you want to turn.
While doing this, maintain even weight distribution on the board, ensuring you have the maximum control you can as you turn the board slightly.
You’ll want to adjust where you distribute pressure based on where in your turn you are.
At the beginning of your turn, you’ll want the pressure to be focused on the front of your board, slightly digging your front edge into the snow.
Towards the end of your turn, you’ll want the pressure to be focused on the back of your board, digging the back edge of your board.
This will help ensure that you can use the board to your benefit, controlling it with every step you take.
3. Finishing The Turn
As you finish your turn, you’ll want to ease off the pressure from your board, relaxing it a bit while you travel in the direction you’re headed.
During this stage, you’ll likely be perpendicular to the mountain. If you want to stop at this point, apply equal pressure on both feet to the edge that is buried in the mountain.
If you made a toe turn, this would be your toe edge; if you made a heel turn, this would be your heel edge.
If you’re linking turns, you’ll start the process again directly after this turn, so you’ll want to use the brief moment of rest you have wisely.
How to Link Your Turns?
When linking your turns, you’ll be implementing multiple back-to-back turns, both heel side and toe side, directly alternating between the two.
This creates an “S” with your turns as you link them.
One of the first things to remember when linking your turns is patience.
Your best bet is to start with an easier slope so that you can have an easier time learning the ropes, gradually building up to more dangerous conditions before you eventually get your turns linked up.
A good tip to remember is to use your breathing to your advantage to relax your body.
You’ll want to remain on whatever side you’re turning with as you inhale, holding your breath while the board gets flat as you finish a turn, exhaling as you make the other turn.
This will help you gain the most control you can over the board as you shred down the mountain.
Final Thoughts
If you’re curious, you’ve probably wondered why snowboarders zig-zag down the mountain as they ride.
Snowboarders make this motion as it allows them to get around the mountain, while helping them control their speed, using friction to regulate how fast or slow they go.
This is called linking your turns, a process that involves linking together as a toe side turn and a heel side turn, one turn after another as you ride down the mountain.
You must learn how to turn from a multi-stage process to do this effectively.