Snowboarding down the slope is all fun and games until you hit a rock or endure a fall hard enough to split your board. If your board gets minor dents or cracks, you can easily repair them through DIY projects. However, more severe damage may require professional input.
To fix a broken snowboard, determine the extent of the damage to know if it is repairable or replaceable. If repairable, gather the necessary supplies, including cleaning clothes, epoxy, hardener, and clamps. Start by cleaning the broken part before applying the epoxy and hardener mixture and leaving it to cure.
Learning to fix your broken snowboard can save you quite a bit of money and give your board a personal touch from your handy work.
How to Fix a Broken Snowboard?
Fixing a broken board is a step-by-step process that requires care and precision. If a large chunk of your board breaks apart, salvaging it can be challenging.
You can opt to do it yourself or visit the store and get an expert to fix your board through other techniques like base welding.
1. Determine If Your Board Can Be Repaired
Assessing the extent of your snowboard’s damage helps you understand if you can salvage it with repairs or if it’s time to visit the store for a new one.
For instance, if the board is completely broken into two pieces, attempting to repair it is often impossible, and you may waste money trying. In this case, you would need to purchase a new board rather than fix it.
However, you can fix a mildly broken board by following the process explained later in this article and get back down the slope in no time.

2. Non-DIY Repair Techniques
After analyzing your snowboard’s situation and realizing you cannot manage it through DIY, you can go down to a snowboard repair store and seek an expert opinion.
Base welding can provide a more solid solution to your snapped snowboard, but the process is more complex than the common epoxy fix and may require a professional for a longer-lasting effect.
A base weld is handy when your snowboard base has serious damage from rocks or other rough surfaces.
This technique is good for repairing serious core shots because it cures a board whose base is damaged enough to expose its core.
The repair occurs through heating, evenly spreading, and pressing new materials on the base, which has a long-lasting effect on extensive damage.
If your board has more than one shallow gouge, fixing it yourself may take up your time and resources, which can be more expensive than shop repairs.
Shop repairs give your board thorough additional services depending on your preferred package. They may include de-tuning the edges, sharpening, polishing, and leveling your snowboard.
These repairs occur under specialized machines like the heated belt, which applies hot wax, scrapes off the excess, and buffs the base, giving your board a near-perfect new look.
3. DIY Repair for a Broken Snowboard
Supplies needed:
- Fiberglass cleaner
- Washcloth
- Epoxy
- Hardener
- Clamps or duct tape
4. Assess the Broken Part
The first step in fixing a board is assessing the broken parts. A snapped board does not necessarily have to fall apart into different pieces.
Often, your board may remain in one piece but separated at the snapped section, mainly occurring at the base. Check the depth of the split part and assess if there’s a void on the board.
Simple splits can easily be mended using epoxy and hardener, while larger or more complex ones require an expert to weld the void.
By assessing the broken parts, you can tell if the extent of the damage is worth the repair effort or whether it is better to get a new board.
5. Clean the Split Parts
After collecting the broken pieces of your snowboard, clean the split edges and the surrounding material with a fiberglass cleaner.
Cleaning the parts makes it easy to see where the breakage is and helps prevent dirt from getting into the repair area. Leave it to dry for about 20 minutes before the next step.
6. Gather Your Repair Kit
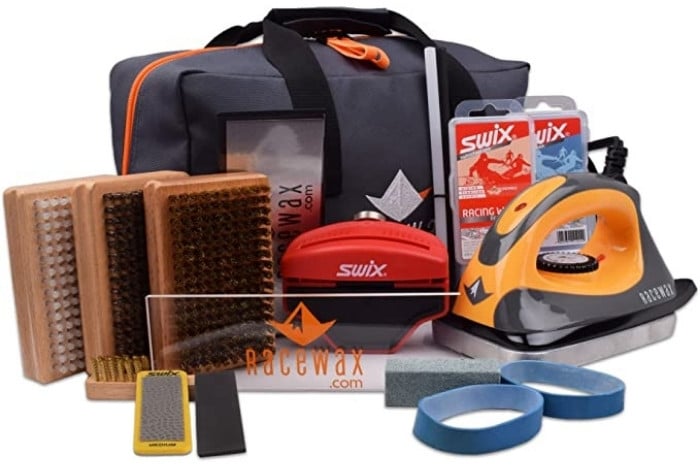
If you want to fix the snowboard properly, use a repair kit such as one available from Burton or Flow. These kits will help you fix the damaged area and strengthen your snowboard.
A badly damaged snowboard requires heavy-duty repair equipment to bring it back to a useful structure. The kits consist of:
- A sheet of fiberglass cloth- You can wrap it around the area where the core was broken to reinforce your board and prevent further damage.
- A tube of epoxy and hardener- This is what you’ll use to glue everything together once you’ve wrapped the fiberglass cloth around it.
7. Mix Your Epoxy and Hardener
When mixing epoxy and hardener, ensure that you follow the instructions that come with it. Some brands require strict adherence to specific temperatures or humidity levels before they harden.
Epoxy and hardeners have different properties. The epoxy will be a glue-like compound that can stick to the board but not harden, so it can move around on the board without causing damage.
The hardener is a chemical that causes everything mixed with it to become solid. It is necessary to mix epoxy and hardener to be able to repair your board correctly.
8. Apply the Mixture of Epoxy and Hardener
Apply one coat of epoxy to each side of the board along both sides of the crack.
You can use the structuring brush or a clean toothbrush to ensure it spreads evenly on both parts of the broken snowboard.
The next step is pressing them together by tightening a masking tape or clamp on the glued section.
9. Clamp the Board
When you glue a broken board, the pieces of the board need to be held together tightly while they dry.
Failure to clamp prevents the glue from holding, leading to the breakage and separation of the recently repaired board.
Clamping the pieces together with a vise or clamping device will ensure they stay in place while drying.
You can use other equipment like heavy books if you don’t have clamps, but ensure they fit snugly against your board and stay in place while the glue dries.
You can also improvise with rubber bands or masking tape, which are cheap and equally effective.
Be careful not to leave them on too long to prevent them from snapping off while they’re still attached to your board.
10. Leave to Cure
If you’re wondering how long to let your snowboard dry after it’s been glued, the answer is that it depends on the brand of glue you use. Waterproof epoxy usually takes around 24 hours to dry.
So, leave your board at least a day before taking it out. The curing temperature ranges between 65 and 75 degrees Fahrenheit (18 and 24 degrees Celsius), but it can vary depending on the brand.
Check the label for specifics.
11. Final Check-up
It’s important to note that even if your snowboard is fully cured and ready for use, there are still some things you should do before heading up the mountain again.
First, check the screws and bolts on your bindings to ensure they haven’t loosened during the drying process. If they have, give them a quick tightening.
You should also check the base of your board and edges to see if they need a quick tune.
Conclusion
Fixing a damaged snowboard is possible in many cases but depends on the damage. If your board is completely snapped, your only option is to replace it.
If you have a deep core shot, experts at the snowboard store can usually repair them, and minor repairs can be done at home with a repair kit.